
서론
해당 프로젝트의 역할은 Rest API Backend 서버입니다. 본연의 역할을 위해 먼저 간단하게 Get 메소드에 대한 요청을 처리하는 컨트롤러를 정의해보겠습니다.
user 컨트롤러
프로젝트 구조는 DDD를 따라 정의할 예정입니다. 따라서 먼저 user 패키지를 정의하고, 그 안에 Controller.kt 파일을 생성해주고 다음과 같이 GET 요청을 처리할 컨트롤러를 작성했습니다.
package world.nolog.nolog_world.user

import org.springframework.web.bind.annotation.GetMapping
import org.springframework.web.bind.annotation.RequestMapping
import org.springframework.web.bind.annotation.RestController

data class HelloResponse(val result: String)

@RestController
@RequestMapping("/user")  // 공통 경로 설정
class HelloController {
    // /user 경로를 처리
    @GetMapping
    fun userRoot(): HelloResponse {
        return HelloResponse(result = "Welcome to the user page!")
    }

    // /user/hello 경로를 처리
    @GetMapping("/hello")
    fun hello(): HelloResponse {
        return HelloResponse(result = "hello world!~~")
    }

}
코드 분석
package world.nolog.nolog_world.user

import org.springframework.web.bind.annotation.GetMapping
import org.springframework.web.bind.annotation.RequestMapping
import org.springframework.web.bind.annotation.RestController
package world.nolog.nolog_world.user:HelloController클래스가 속해 있는 패키지 경로를 정의합니다. 일반적으로 프로젝트 구조에 따라 패키지가 설정됩니다.import구문: 스프링 웹 어노테이션인@GetMapping,@RequestMapping,@RestController를 가져옵니다. 이는 HTTP 요청을 처리하기 위한 스프링 웹의 주요 어노테이션입니다.
data class HelloResponse(val result: String)data class HelloResponse: JSON 응답으로 반환될 데이터를 담는 간단한 코틀린 데이터 클래스입니다.result라는 이름의 문자열 필드 하나를 가집니다. 스프링 부트는 이data class를 자동으로 JSON 형식으로 변환하여 클라이언트에게 반환합니다.
@RestController
@RequestMapping("/user")  // 공통 경로 설정
class HelloController {@RestController: 이 클래스가 스프링의 RESTful 웹 API를 처리하는 컨트롤러임을 명시합니다.@RequestMapping("/user"):/user경로로 들어오는 HTTP 요청을 이 컨트롤러가 처리하게 합니다. 즉, 이 컨트롤러 내의 모든 메소드가 기본적으로/user경로를 가집니다.
    // /user 경로를 처리
    @GetMapping
    fun userRoot(): HelloResponse {
        return HelloResponse(result = "Welcome to the user page!")
}@GetMapping: 경로를 명시하지 않으면 기본 경로인/user로 들어오는 GET 요청을 처리합니다.userRoot: 함수 이름은 임의로 지정된 이름입니다. 이 함수가/user경로로 들어오는 요청을 처리하며,HelloResponse객체를 반환합니다.return HelloResponse(result = "Welcome to the user page!"):"Welcome to the user page!"라는 값을 담은HelloResponse객체를 반환하여, 이를 JSON 응답으로 반환합니다.
    // /user/hello 경로를 처리
    @GetMapping("/hello")
    fun hello(): HelloResponse {
        return HelloResponse(result = "hello world")
}@GetMapping("/hello"):/user/hello경로로 들어오는 GET 요청을 처리합니다.hello: 마찬가지로 함수 이름은 임의로 지정되었습니다. 이 함수가/user/hello경로로 들어오는 요청을 처리하며,HelloResponse객체를 반환합니다.return HelloResponse(result = "hello world!~~"):"hello world"라는 값을 담은HelloResponse객체를 반환하여, 클라이언트에게 JSON 응답으로 보냅니다.
API 테스트
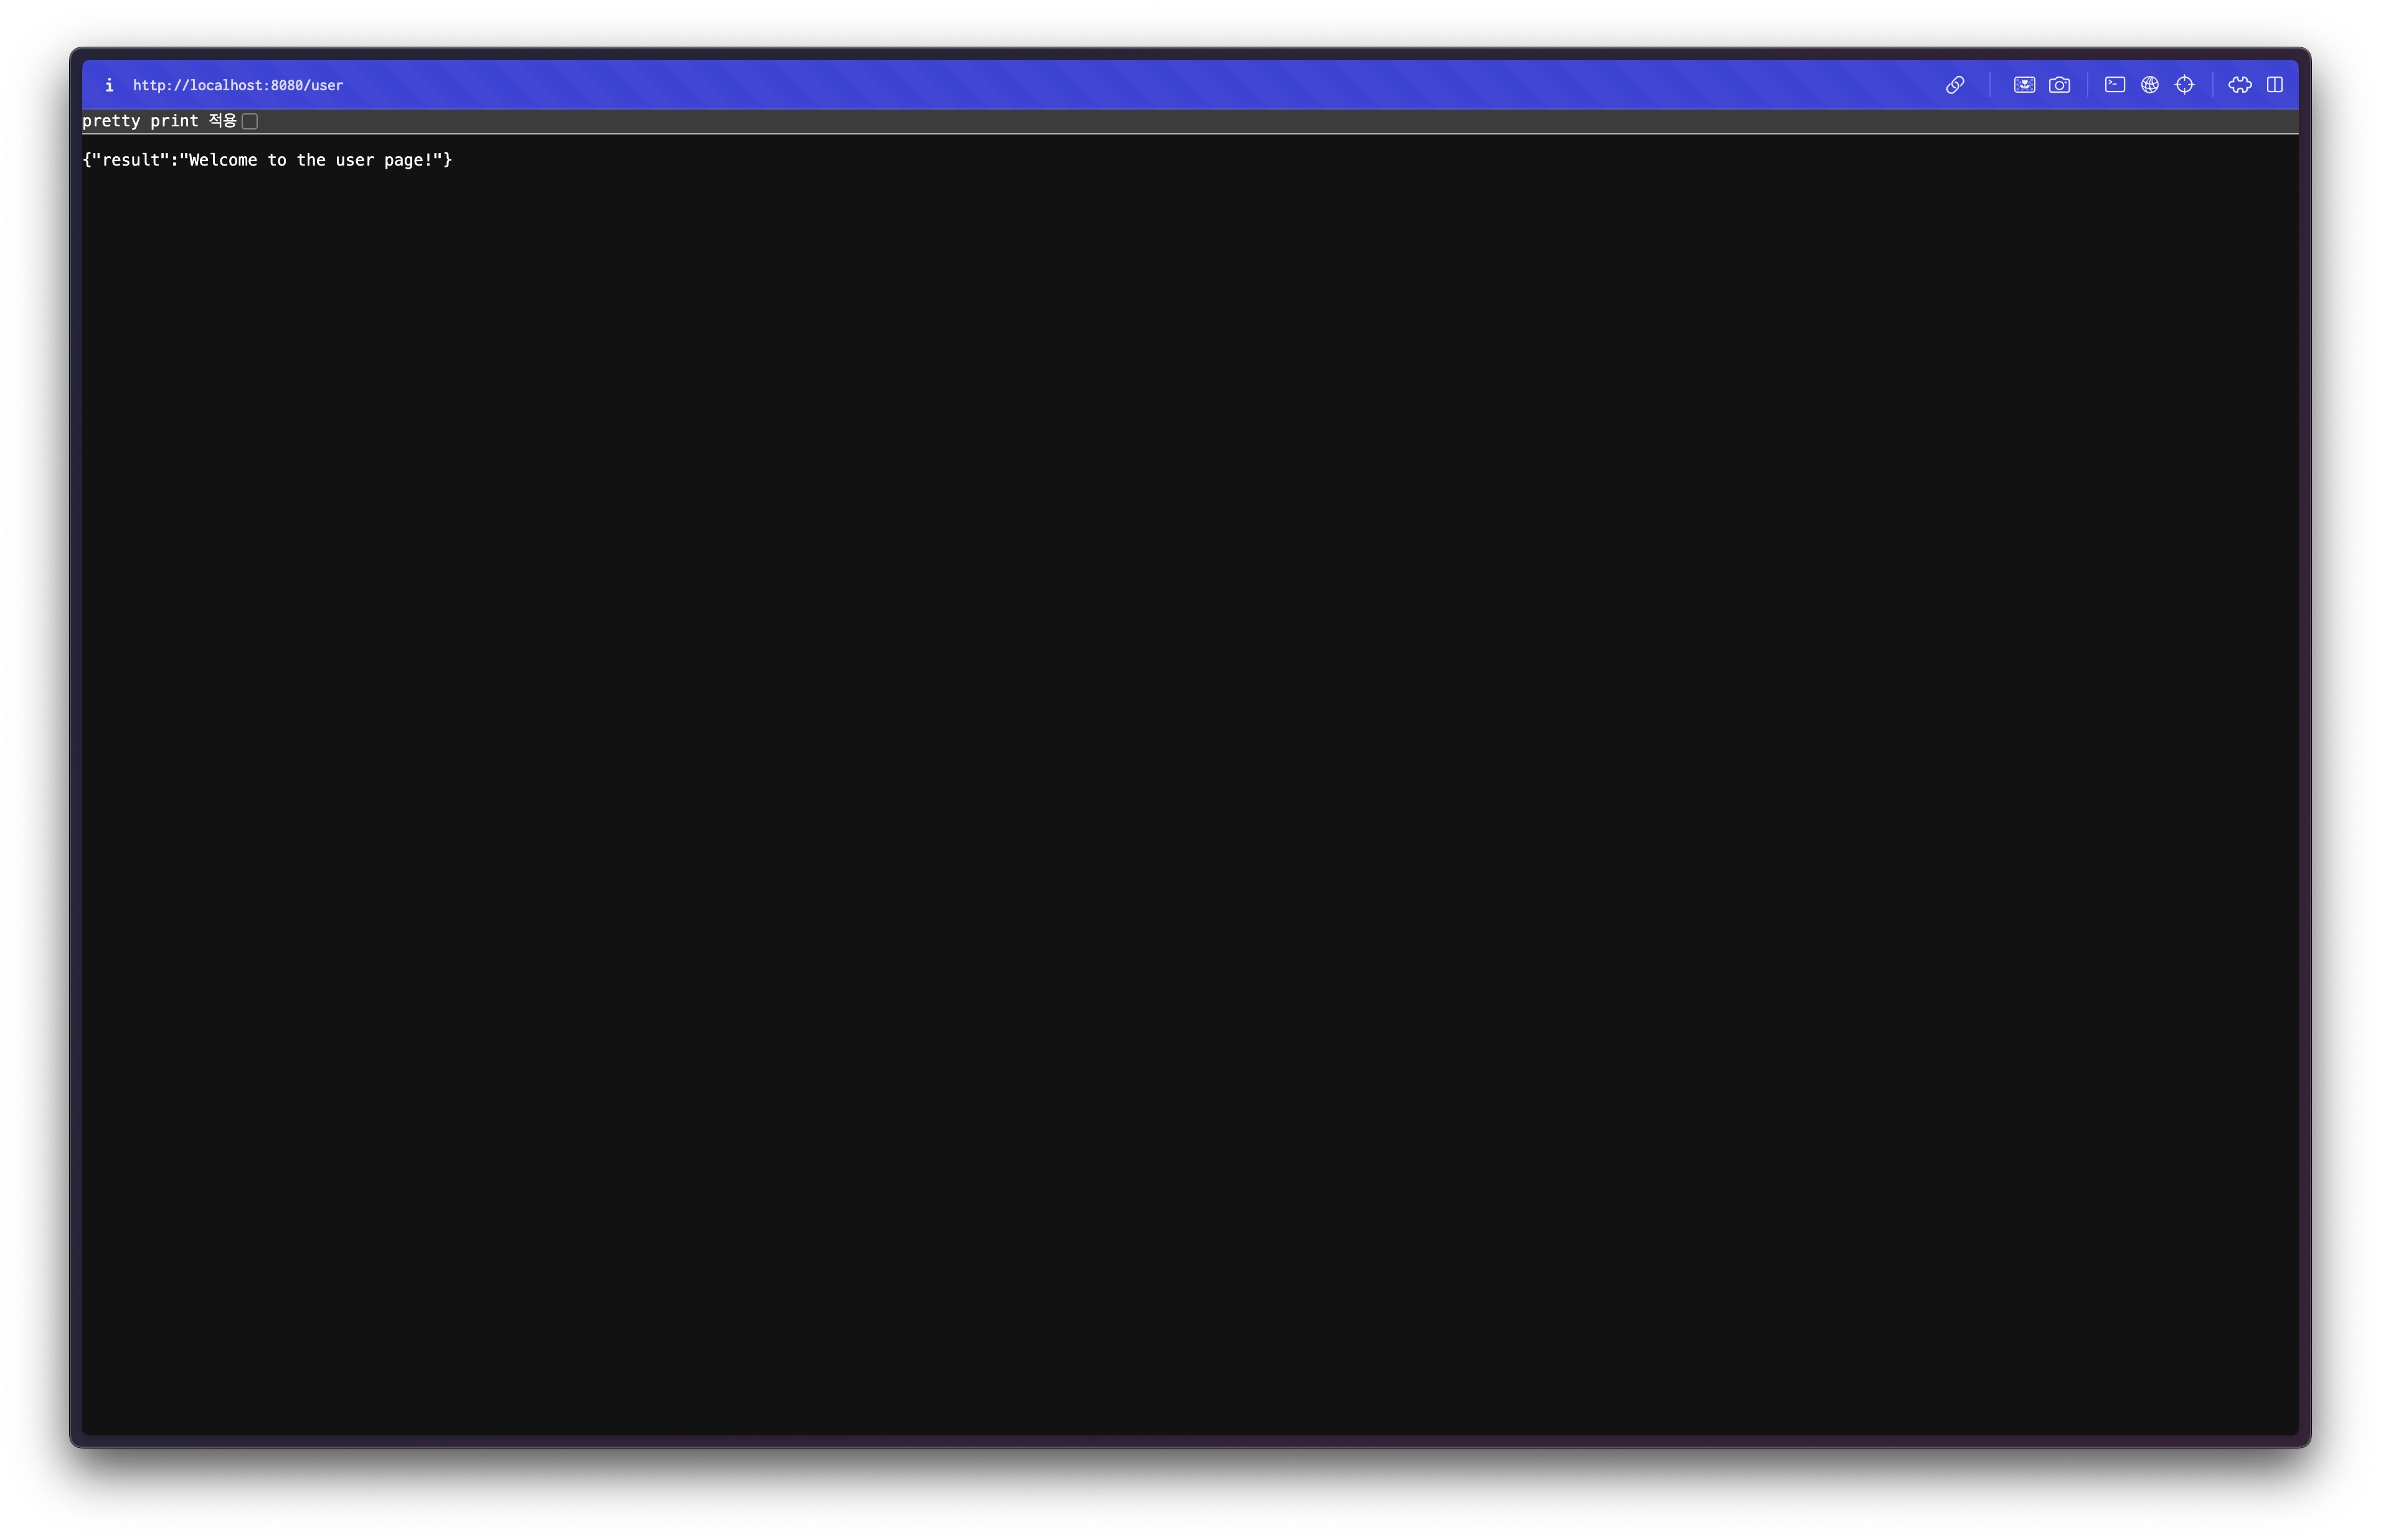
/user 경로로 접속하면 다음과 같은 화면을 볼 수 있습니다.
Springdoc OpenAPI
API 문서는 협업때도 그렇고, 테스트를 위해서도 중요한 작업입니다. Django를 할 때에는 Swagger를 사용해서 API를 구현하면 자동으로 문서화가 되는 기능을 사용했었는데, Spring에도 비슷한 게 있습니다. Springdoc OpenAPI 입니다.
소개
Springdoc OpenAPI는 Swagger/OpenAPI 3.0 사양을 지원하는 라이브러리로, 스프링 부트 애플리케이션과 잘 통합됩니다. 설정이 매우 간단하고, 최신 OpenAPI 3.0 사양을 사용할 수 있습니다. REST API 문서와 UI를 자동으로 생성해 주며, API 테스트도 가능합니다.
설치
다음의 의존성을 추가합니다.
dependencies {
		implementation("org.springdoc:springdoc-openapi-starter-webmvc-ui:2.0.2")
}
그리고 다음의 설정 클래스를 선언합니다. config 패키지를 생성해서 그 안에 넣어주었습니다.
package world.nolog.package.config
import io.swagger.v3.oas.models.Components
import io.swagger.v3.oas.models.OpenAPI
import io.swagger.v3.oas.models.info.Info
import org.springframework.context.annotation.Bean
import org.springframework.context.annotation.Configuration
@Configuration
class SwaggerConfig {
@Bean
fun openAPI(): OpenAPI {
return OpenAPI()
.components(Components())
.info(apiInfo())
}
private fun apiInfo(): Info {
return Info()
.title("Springdoc 테스트")
.description("Springdoc을 사용한 Swagger UI 테스트")
.version("1.0.0")
}
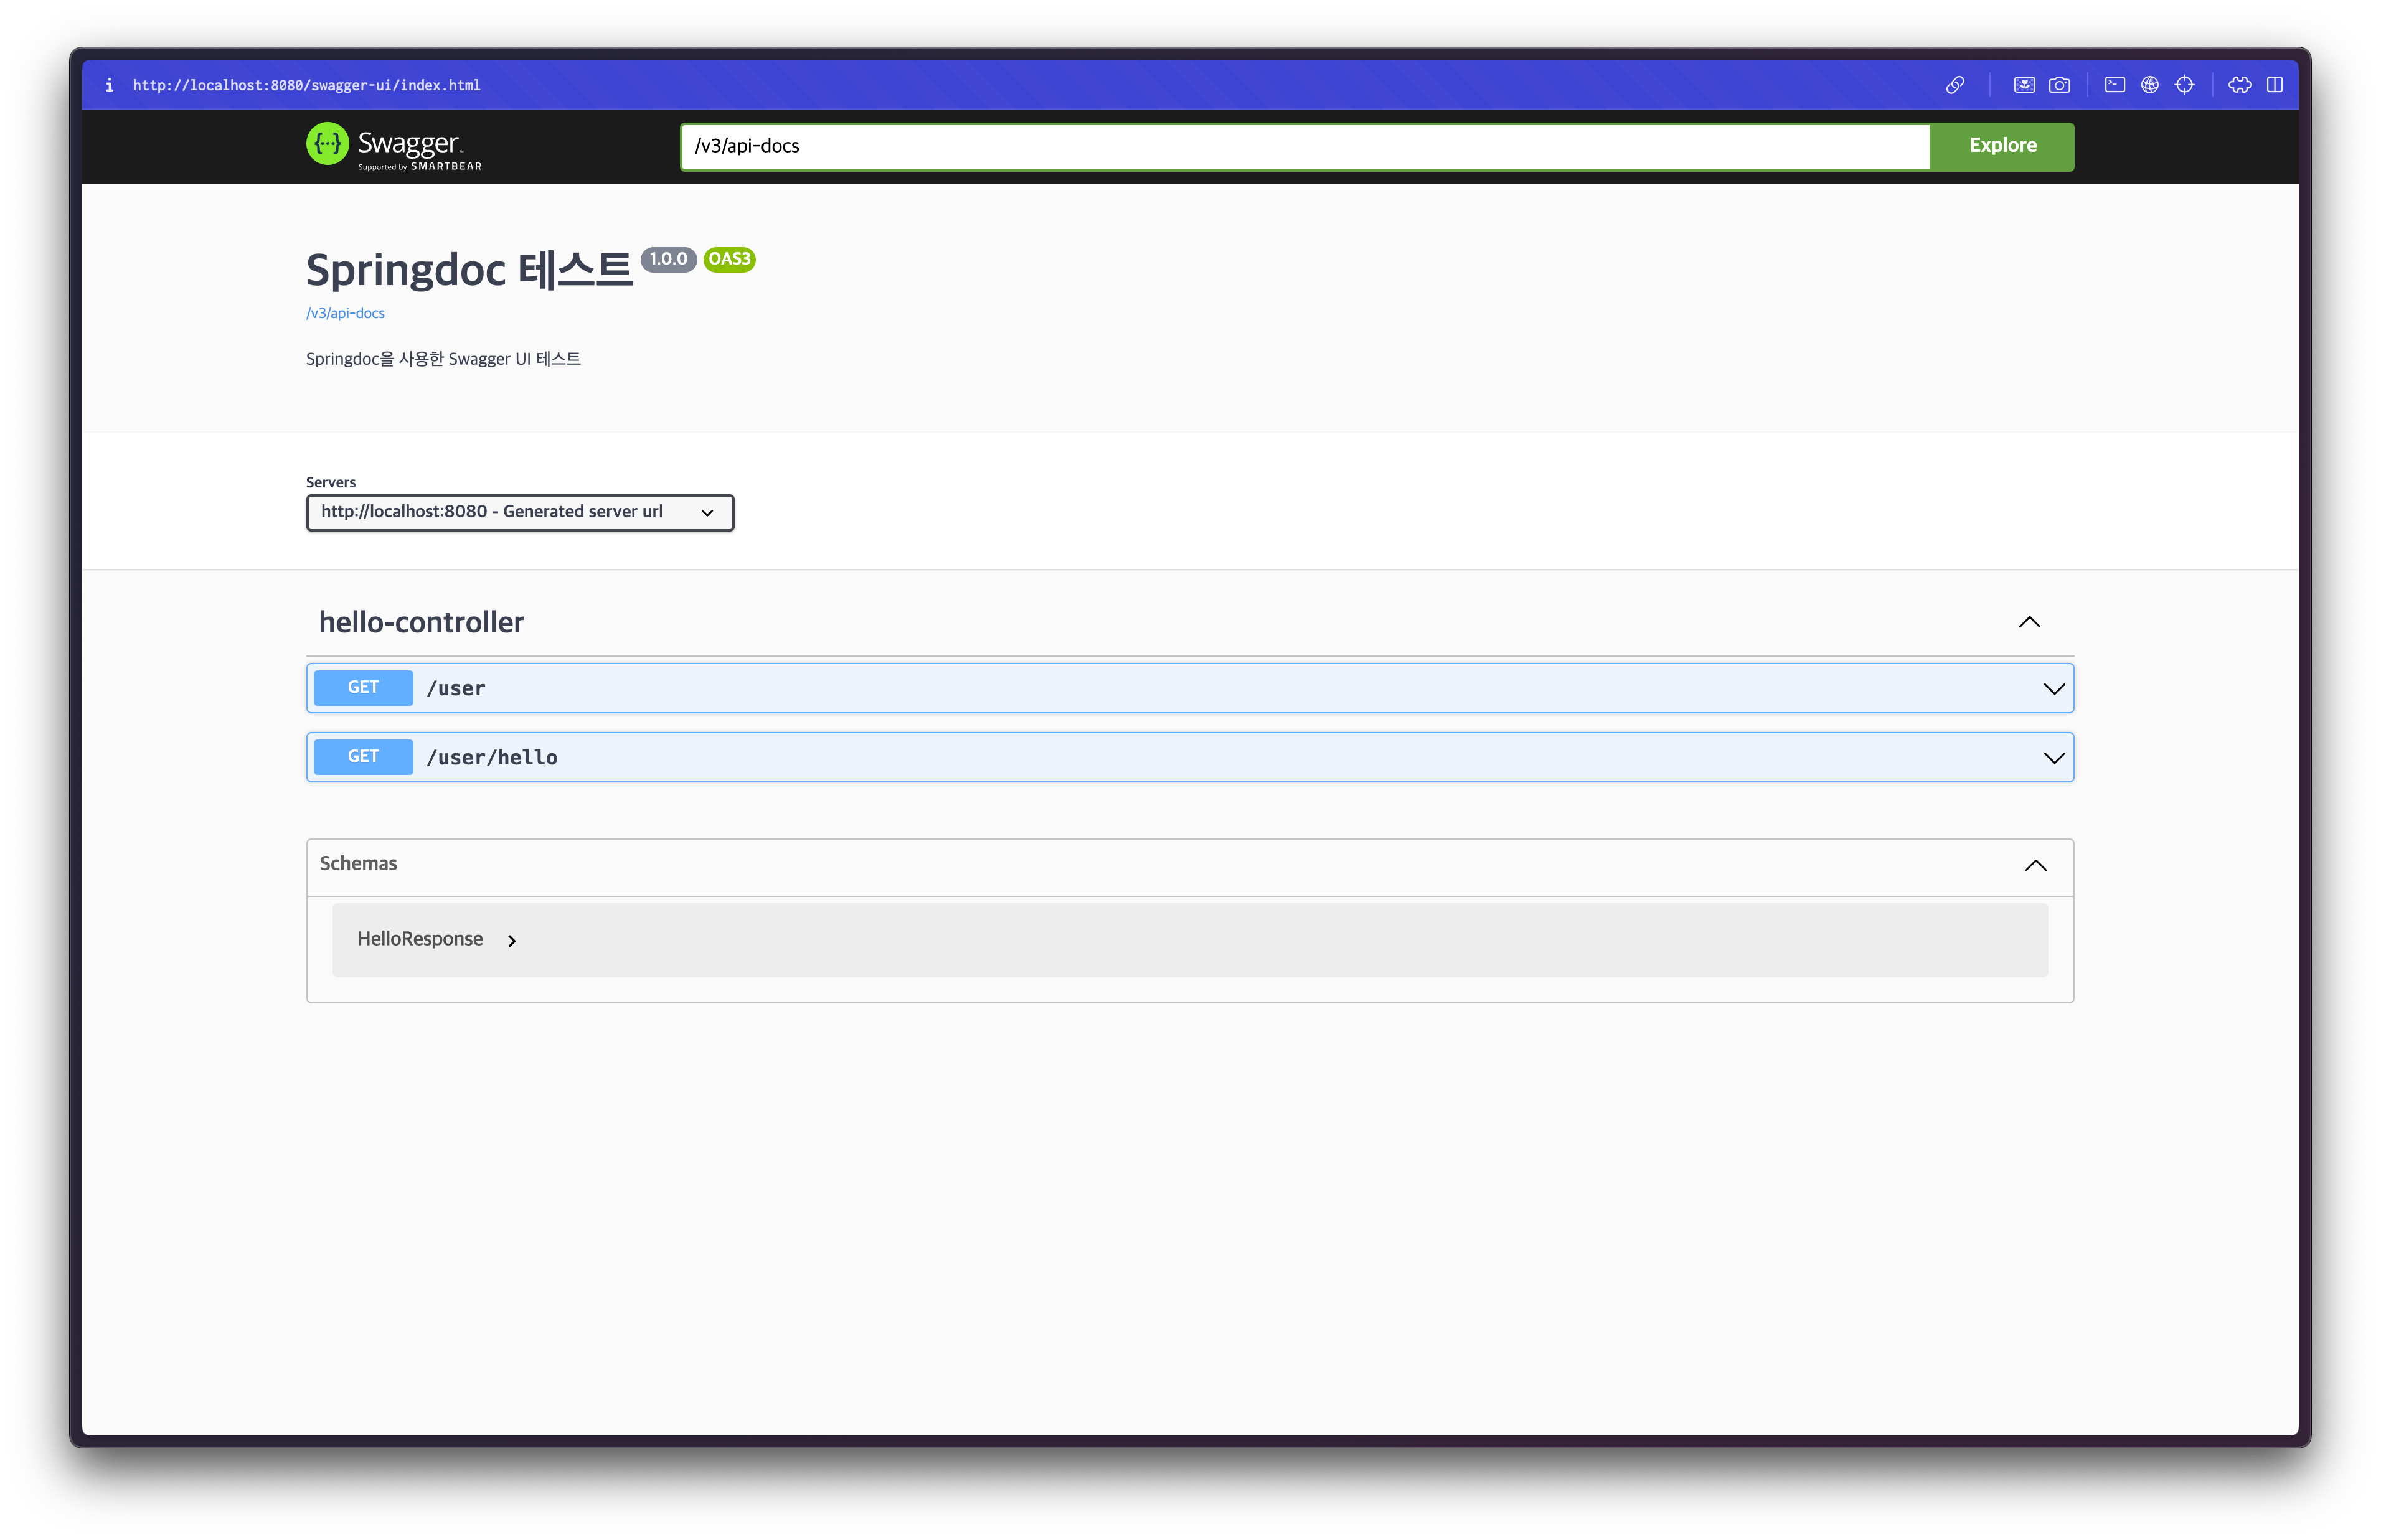
}이후 http://localhost:8080/swagger-ui/index.html 경로에서 Swagger UI로 API를 확인할 수 있습니다.
작동 원리
Springdoc OpenAPI는 Spring Web MVC 또는 Spring WebFlux와 통합되어, 컨트롤러 클래스와 그 안의 메서드에 있는 어노테이션을 기준으로 API 엔드포인트를 수집합니다. 이를 통해, 정의된 API 명세서를 자동으로 생성하고 Swagger UI에 보여줄 수 있습니다.
다음은 Springdoc OpenAPI가 API 엔드포인트를 수집하는 기준입니다. 기본적으로 모든 컨트롤러 클래스와 매핑된 모든 메서드가 자동으로 API 문서에 포함됩니다. 특정 API를 문서화에서 제외하고 싶다면, @Hidden 어노테이션을 사용하여 OpenAPI 명세에서 해당 엔드포인트를 숨길 수 있습니다.
스프링 컨트롤러 클래스 (@RestController, @Controller)
@RestController또는@Controller어노테이션이 붙은 클래스에서 API 엔드포인트를 수집합니다.- 일반적으로 이 클래스에서 HTTP 요청 경로를 정의하는 메서드를 찾습니다.
HTTP 요청 매핑 어노테이션
@GetMapping,@PostMapping,@PutMapping,@DeleteMapping,@PatchMapping,@RequestMapping과 같은 스프링의 HTTP 요청 매핑 어노테이션이 있는 메서드를 API로 수집합니다.- 이 어노테이션들에 의해 정의된 HTTP 메서드와 경로 정보가 OpenAPI 문서로 변환됩니다.
더 상세한 문서 만들기
이렇게만 해도 정의된 REST API들을 수집하여 자동으로 문서화합니다. 그러나 원활한 협업을 위해서는 더 자세한 문서를 작성해야 하는 경우가 많습니다. 다음은 그 문서를 작성하는 방법입니다. Springdoc OpenAPI에서 제공하는 대표적인 어노테이션들은 다음과 같습니다.
@Operation 어노테이션
API 엔드포인트에 대한 핵심 정보를 문서화하는 데 사용됩니다. 각 엔드포인트에 대한 간단한 설명(summary)과 자세한 설명(description)을 추가할 수 있으며, 이 설명은 Swagger UI에 표시되어 API 사용자를 위한 안내로 제공됩니다.
summary: API 엔드포인트의 간략한 설명을 제공.description: API의 상세 설명을 제공하여 어떤 용도로 사용되는지 안내.tags: API를 그룹화할 수 있는 태그를 설정. 이 태그를 이용해 API 문서를 논리적으로 분리할 수 있습니다.
@ApiResponse 어노테이션
API의 응답 결과에 대해 상세히 설명하는 데 사용됩니다. 각 API가 어떤 응답 코드와 응답 메시지를 반환하는지 문서화할 수 있습니다. 이 정보는 성공 시 응답뿐만 아니라 오류 응답도 함께 정의하여, API 사용자가 오류 상황에 대한 정보를 명확히 알 수 있게 해줍니다.
responseCode: 응답 코드 (HTTP 상태 코드)를 명시.description: 해당 응답 코드에 대한 설명을 제공.content: 반환되는 데이터의 타입이나 스키마를 정의할 수 있습니다.
@Parameter 어노테이션
API 메서드의 파라미터를 문서화할 때 사용됩니다. 주로 URL 경로에 포함된 경로 변수나 쿼리 파라미터, 요청 본문에서 사용하는 데이터를 더 명확히 설명하는 데 유용합니다. 이를 통해 API 사용자는 각 파라미터가 어떤 역할을 하는지, 필수인지 여부를 쉽게 이해할 수 있습니다.
name: 파라미터의 이름을 명시.description: 파라미터에 대한 설명을 제공.required: 필수 여부를 정의.example: 파라미터의 예시값을 설정하여 문서에 추가.
@Schema
DTO 클래스나 특정 필드의 구조를 문서화할 때 사용합니다. 이 어노테이션을 사용하면 각 필드에 대해 설명을 추가할 수 있으며, 데이터 타입이나 예시값을 명시할 수 있습니다.
description: 각 필드의 의미를 설명.example: 필드의 예시값을 제공하여 API 사용자가 쉽게 이해할 수 있도록 합니다.
@``RequestBody
요청 본문에 포함되는 데이터를 설명하는 데 사용됩니다.
description: 각 필드의 의미를 설명.example: 필드의 예시값을 제공하여 API 사용자가 쉽게 이해할 수 있도록 합니다.
어노테이션을 모두 활용한 API 문서 예제
import io.swagger.v3.oas.annotations.Operation
import io.swagger.v3.oas.annotations.Parameter
import io.swagger.v3.oas.annotations.responses.ApiResponse
import io.swagger.v3.oas.annotations.responses.ApiResponses
import io.swagger.v3.oas.annotations.media.Schema
import org.springframework.http.ResponseEntity
import org.springframework.web.bind.annotation.GetMapping
import org.springframework.web.bind.annotation.PathVariable
import org.springframework.web.bind.annotation.RequestParam
import org.springframework.web.bind.annotation.RestController

@RestController
class UserController {

    @Operation(
        summary = "Get user by ID",
        description = "Returns user details based on the user ID provided.",
        tags = ["User"]
    )
    @ApiResponses(
        value = [
            ApiResponse(responseCode = "200", description = "Successfully retrieved user"),
            ApiResponse(responseCode = "400", description = "Invalid user ID supplied"),
            ApiResponse(responseCode = "404", description = "User not found"),
            ApiResponse(responseCode = "500", description = "Internal server error")
        ]
    )
    @GetMapping("/user/{id}")
    fun getUserById(
        @Parameter(
            name = "id",
            description = "ID of the user to be retrieved",
            required = true,
            example = "1"
        )
        @PathVariable id: Long,

        @Parameter(
            name = "includeAddress",
            description = "Flag to include user's address in the response",
            required = false,
            example = "true"
        )
        @RequestParam(required = false, defaultValue = "false") includeAddress: Boolean
    ): ResponseEntity<User> {
        // 비즈니스 로직: 사용자 정보 조회
        return ResponseEntity.ok(
            User(
                id = id,
                name = "John Doe",
                email = "john.doe@example.com",
                address = if (includeAddress) "123 Main St, Springfield" else null
            )
        )
    }
}

data class User(
    @Schema(description = "User's unique ID", example = "123")
    val id: Long,

    @Schema(description = "User's full name", example = "John Doe")
    val name: String,

    @Schema(description = "User's email address", example = "john.doe@example.com")
    val email: String,

    @Schema(description = "User's physical address", example = "123 Main St, Springfield", nullable = true)
    val address: String? = null
)